

RFID Tire Patch tag
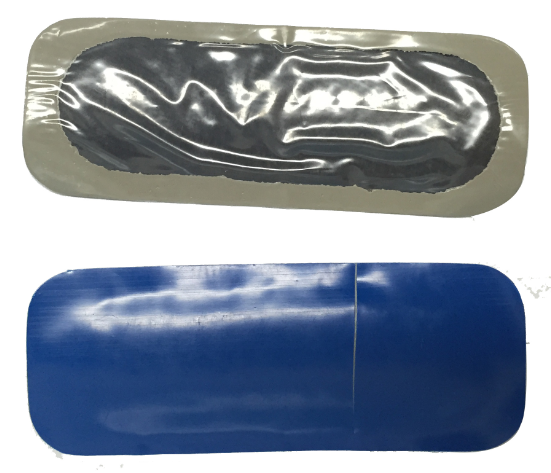
RFID Tire Patch tag
The EPC Class 1 Gen 2 RFID tag is attached by a permanent adhesive to the inside tire wall with a specially formulated dual cure chemical or heat process. It can be built into truck tires that can be recapped several times
Features
n UHF RFID Tire tag, 860-960 MHz frequency range for worldwide application. According with EPC Class1 Gen2/ISO18000-6C
n The tag survives the high temperatures encountered in the tire retreading process and is sturdy enough to remain operational throughout the operating life of the tire.
n The tag has finished thousands of kilometers of actual road tests and did not lead to potential tire defects.
n 0~2m read range when mounted on the tire.
n Flexible construction to withstand tire deformation in the total lifetime of the tire.
n Mounted on the inner side wall of the tire.
n Tag protocol is EPC class 1 generation 2, with 96 bits EPC and 512 bits user memory.
Specifications
Dimension | 110mm*55mm*3mm |
Frequency | 860—960MHZ |
Protocol | EPC class 1 generation 2/ISO 18000-6C |
Read distance | 1-3m |
Memory | 96bits EPC,512bits user memory |
Read/write | Can read/write data into the tag |
Installation | the mounted inner side of the tire |
Weight | 8.5g |
Installation method
1. Check the general area where the patch will stick.
2. Cleaning the surface of the inner liner in the area where the patch will stick.
3. Removing molded-in features such as ridges (strias) or texture (alligator skin)
4. Marking the exact location where the patch will stick
5. The distance between the patch center and the lip of the bead will be 105-115 mm
6. Applying Vulcanizing Cement and allowing the solvent to dry.
7. Applying the patch to the prepared inner liner and apply pressure (stitching it down) to assure intimate contact.
8. There will be no bubbles underneath the patch
9. The patch will be tightly adhered to the tire all the way around its periphery.
10. Waiting for the appropriate time and making the adhesive system vulcanization (depending on temperature).
Detailed steps
1. Applying cleaner fluid to the marking area

2. Remove contaminants on the surface with a scraper

3. Buffing the marking area to achieve a smooth surface with a grinding wheel

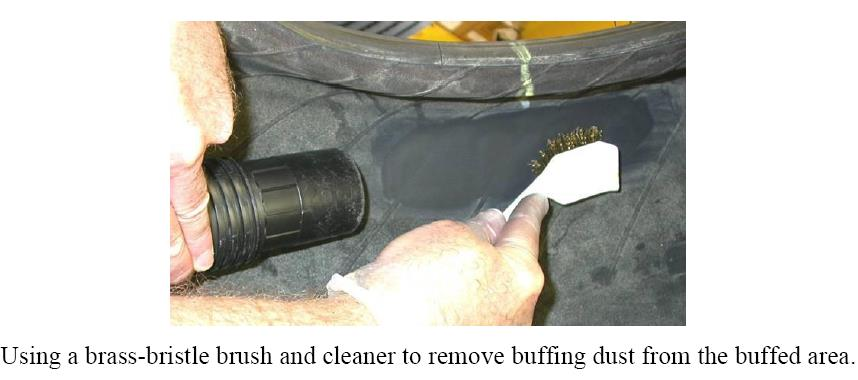
4. Remove buffing dust with a brass-bristle brush and cleaner
5. Leave the solvent for dry5-10mintues(depending on temperature)

CONTACT Address: Room 1002, block C, South Building, No.122 Luofang Road, Xinxing Community, Huangbei Street, Luohu District, Shenzhen 518012 China. |
|

Copyright © Shenzhen Syner Core Technology Co., Ltd. All rights reserved